创建一个网格列表
有时候,你可能希望用网格来展示内容,而不是一条接着一条的普通列表来展示。在本文当中,我们将采用 GridView widget。
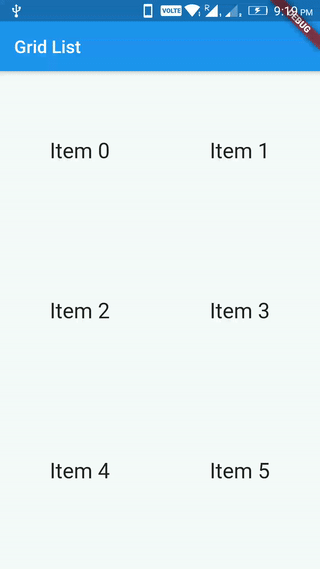
用网格展示数据最简单的方式,就是通过使用 GridView.count() 构造方法,因为它允许我们指定有多少行多少列。
为了帮助我们想象 GridView 是如何工作的,在这个例子中,我们将创建一个包含有 100 个 widget 的 List,每个 Widget 将展示它在 List 中的索引。
GridView.count(
  // Create a grid with 2 columns. If you change the scrollDirection to
  // horizontal, this produces 2 rows.
  crossAxisCount: 2,
  // Generate 100 widgets that display their index in the List.
  children: List.generate(100, (index) {
    return Center(
      child: Text(
        'Item $index',
        style: Theme.of(context).textTheme.headlineSmall,
      ),
    );
  }),
),
交互式样例
import 'package:flutter/material.dart';

void main() {
  runApp(const MyApp());
}

class MyApp extends StatelessWidget {
  const MyApp({super.key});

  @override
  Widget build(BuildContext context) {
    const title = 'Grid List';

    return MaterialApp(
      title: title,
      home: Scaffold(
        appBar: AppBar(
          title: const Text(title),
        ),
        body: GridView.count(
          // Create a grid with 2 columns. If you change the scrollDirection to
          // horizontal, this produces 2 rows.
          crossAxisCount: 2,
          // Generate 100 widgets that display their index in the List.
          children: List.generate(100, (index) {
            return Center(
              child: Text(
                'Item $index',
                style: Theme.of(context).textTheme.headlineSmall,
              ),
            );
          }),
        ),
      ),
    );
  }
}